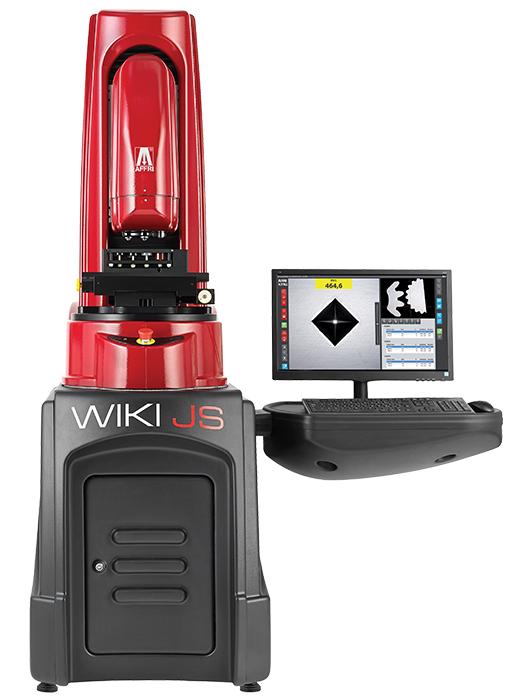
The Affri Wiki JS Automatic Hardness Tester is a fully motorized hardness tester for Micro/Macro Vickers, Knoop, Brinell, Rockwell and even Case Hardness Depth (CHD) testing methods. It features top-of-the-line accuracy for Vickers and Knoop measurements in compliance with ASTM and ISO hardness standards, and can test single or multiple samples for Case Hardness Depth testing in an automatic cycle. Everything is automated, vastly reducing user error, and allowing the operator to focus on other tasks.
How it Works:
Just map-out indentations where required, set the load and press Start. The hardness tester then intelligently follows the predefined patterns, indents the sample, focuses when needed, measures, and generates data dynamically. Load forces are applied through load cells and electronically controlled in "Closed Loop" (Pat. AFFRI) with a frequency of 1 khz, assuring perfect linearity in every range, even on very low loads.
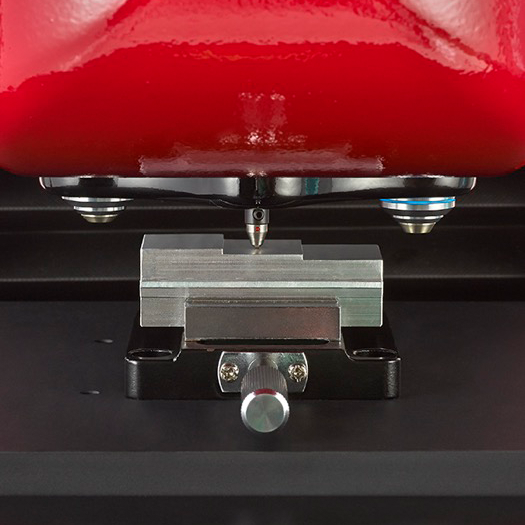
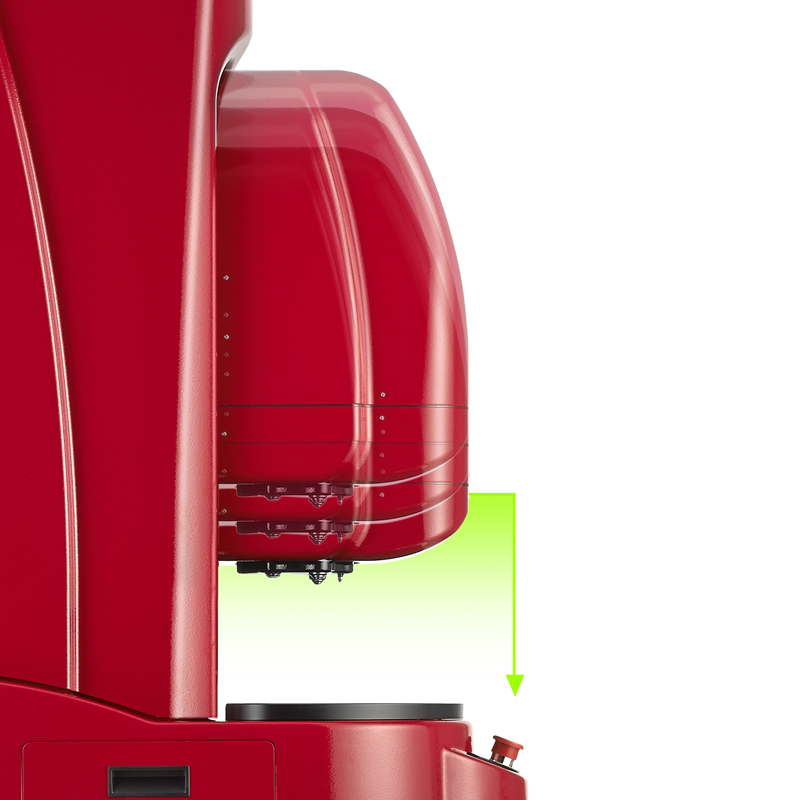
Motorized Head and Automatic Test Cycles
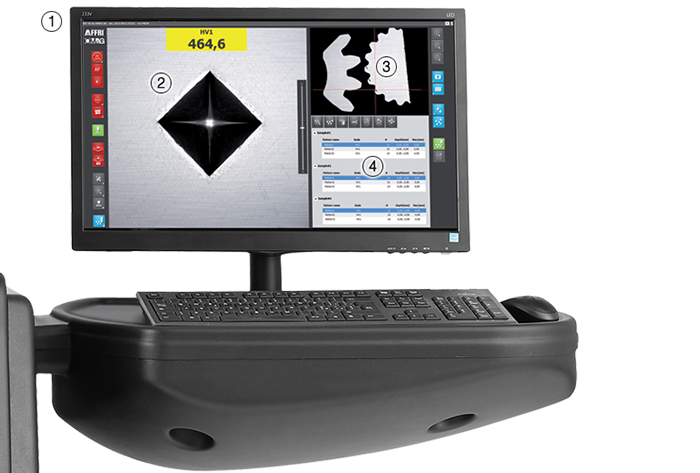
The measuring head approaches the specimen and begins the test, following every predefined pattern and performing each indentation, no matter the amount. Results are listed along with the corresponding indentation image, statistics and CHD charts.
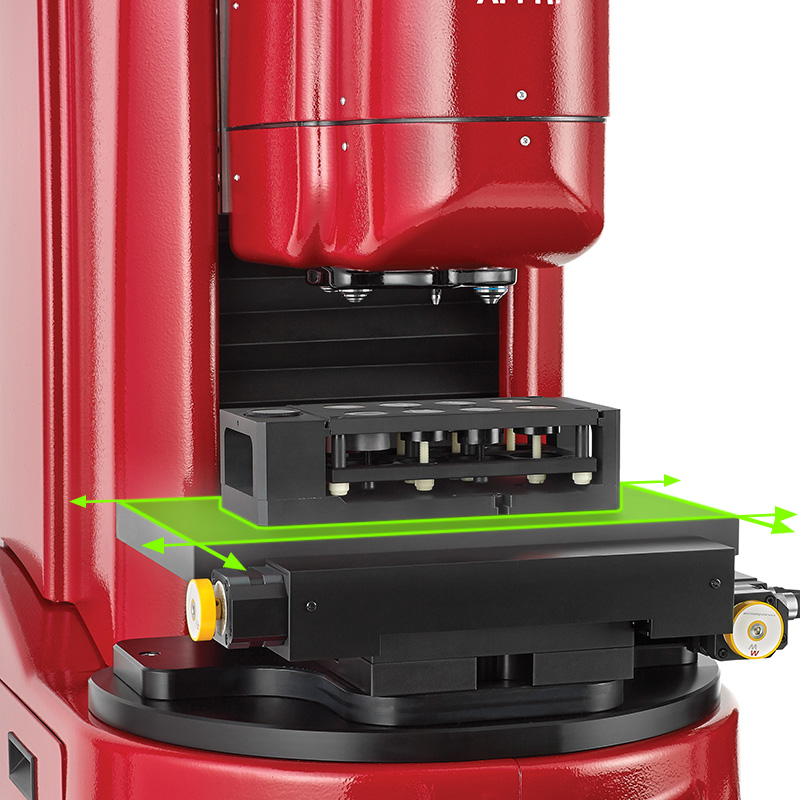
X/Y Motorized Table
With an accuracy of +/- 0.5 μm steps, reference points for patterns indentations can be positioned precisely where they are required. The table allows automatic multi-indentation test cycles on multiple samples with perfect positioning on the entire area.
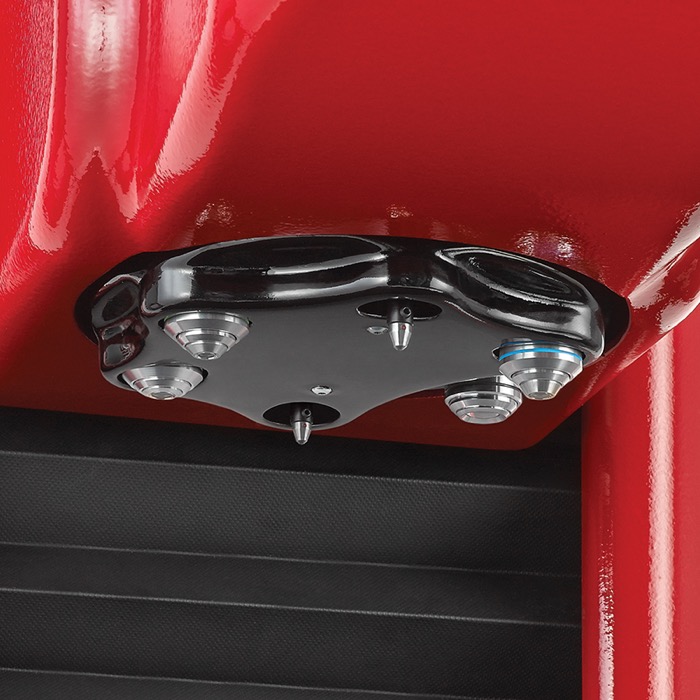
Motorized Turret
Horizontally rotating turret with four slots for magnification lenses and two for indenters. All optical microscope objectives can be pre-installed and combined with indenters for every Vickers and Knoop hardness scales.
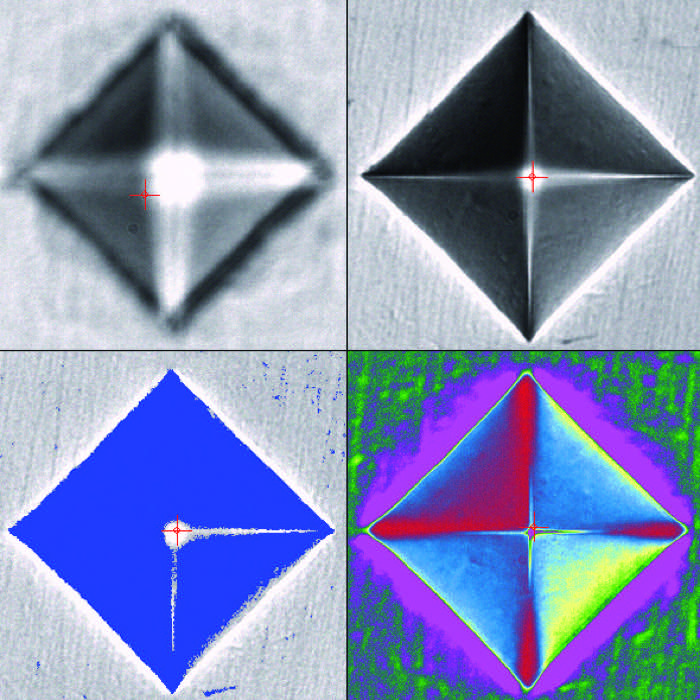
Autofocus and Image Cleaning
With software controlled focus, image cleaning, shading correction and DC regulated light source, reproducible results are obtained regardless of the number of indents measured. From perfectly polished to rough and etched samples, the auto-detection capabilities of WIKI JS allow measurements on a variety of sample surfaces.
1. See the Full Area
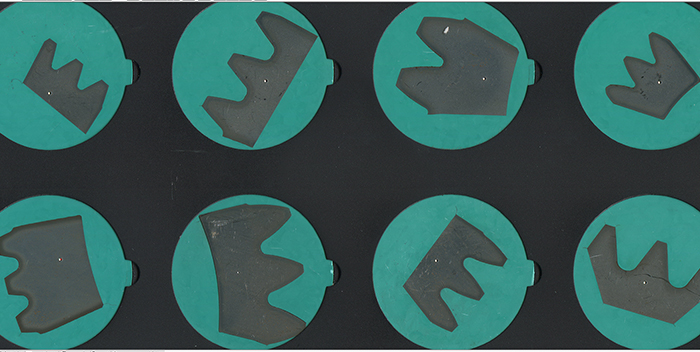
Obtain a perfect, detailed, high resolution and evenly-illuminated view of the whole sample holder
2. Setup Patterns
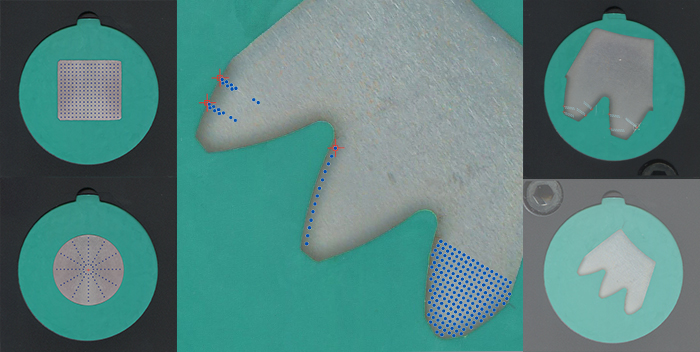
Save, copy and paste or create new patterns to predefined locations with a simple click.
3. Push Start
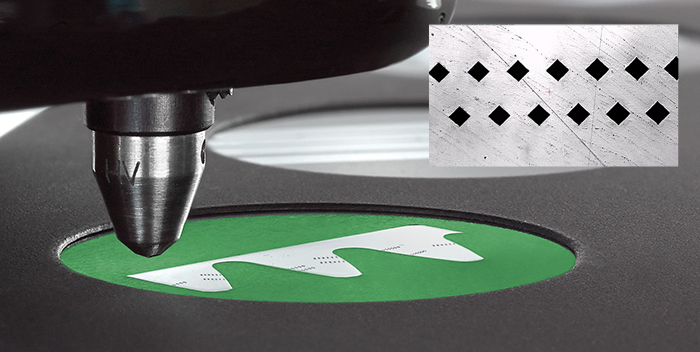
The software follows the patterns, indents the sample, measures and generates data dynamically.
4. Get Results

Obtain statistically relevant results. Review results in graphical and/or tabular format. Export and print.
| Wiki 100/200 JS | Wiki 100/200 JS3 | |
| Standards | DIN-EN-ISO 6506 / DIN-EN-ISO 6507 / DIN-EN-ISO 4545 / ASTM E-92 / ASTM E-384 / JIS B 7734 | |
| X/Y Table | WIKI 200 JS/JS2/JS3 Motorized: 100x60 mm or 200x100 mm with 0.5 μm step WIKI 100 JS/JS2/JS3 Manual: 100x100 mm with 10 μm step |
|
| Vertical Head Stroke | 0/300 mm Motorized | |
| Depth Capacity | 135 mm | |
| Indent Reading | WIKI 200 JS/JS2/JS3: Automatic or manual WIKI 100 JS/JS2/JS3: Manual focus with automatic reading |
|
| Force Range |
0.09807 - 0.1471- 0.1961 - 0.2452 - 0.4903 - 0.9807 - 1.961 - 2.942 - 4.903 - 9.807 - 19.61 - 29.42 - 49.03 - 98.07 N (0.01 - 0.015 - 0.02 - 0.025 - 0.05 - 0.1 - 0.2 - 0.3 - 0.5 - 1 - 2 - 3 - 5 - 10 kgf) |
0.9807 - 1.961 - 2.942 - 4.903 - 9.807 - 19.61 - 29.42 - 49.03 - 98.07 - 196.1 - 294.2 N (0.1 - 0.2 - 0.3 - 0.5 - 1 - 2 - 3 - 5 - 10 - 20 - 30 kgf) As optional: Superficial Rockwell 147.1 and 294.2 N (15 and 30 kgf) Brinell 306.5 N (31.25 kgf) |
| Feasible Tests | Vickers Knoop and Brinell on Request |
Vickers Knoop, Superficial Rockwell and Brinell on Request |
| Load Accuracy | Better than 0.05 % | |