Basic handheld instruments for non-destructive coating thickness measurement on virtually all metals
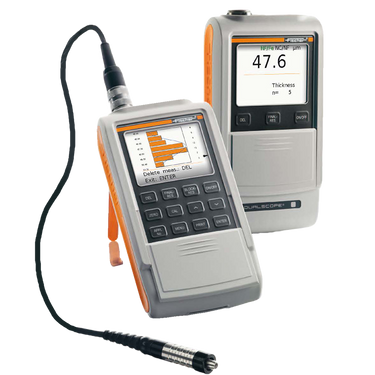
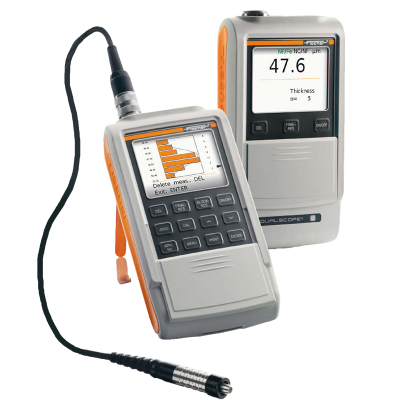
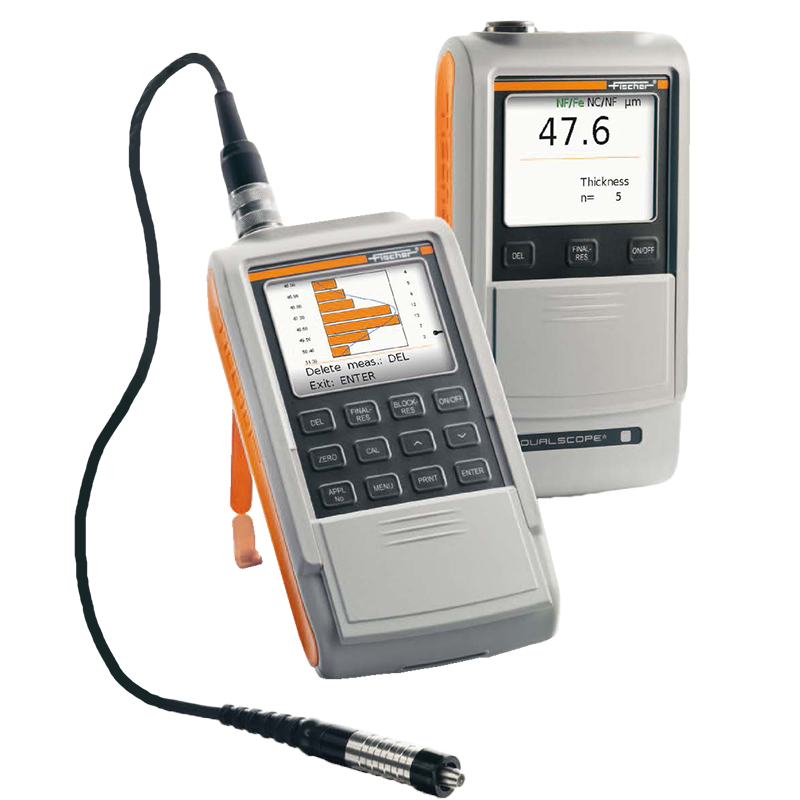
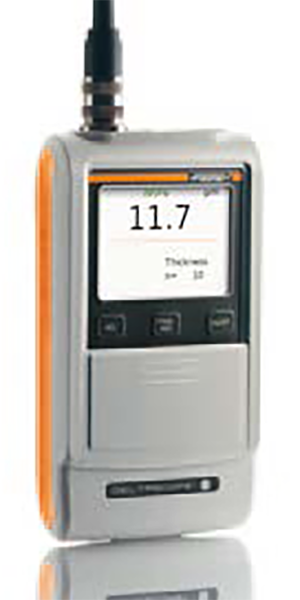
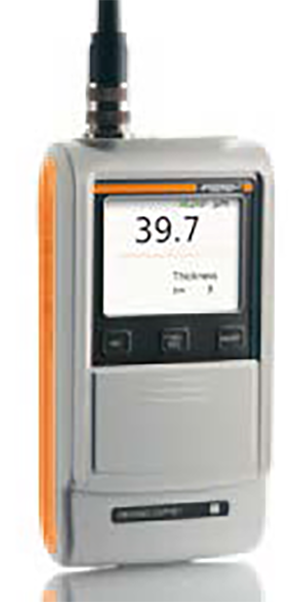
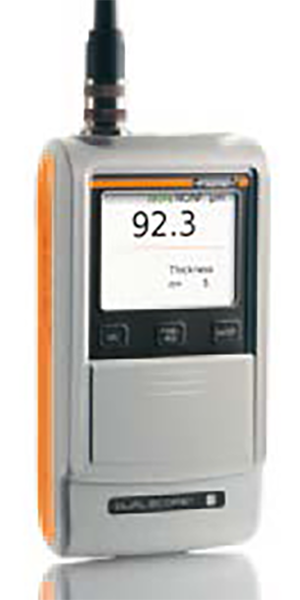
Fischer FMP10, FMP20, FMP30, and FMP40 Handheld Instruments
The portable FMP10, FMP20, FMP30 & FMP40 represent precise measurement technology and are ideal for samples and control measurements. These user-friendly and sturdy instruments can be adapted to requirements of coating thickness measurement using interchangeable measuring probes. The most significant values are displayed and can be stored together with the calibration results in the instrument, ensuring quick and reliable operation.
Probe
Deltascope
Dualscope
Isoscope
Storable Meas. Applications
Statistics, evaluation
Measurement strategies
Exchangeable
FMP10 Deltascope
FMP20 Dualscope
FMP10 Isoscope
1
Display of the most significant statistical values (number of measurements, mean value, standard deviation, min, max range)
Single reading acquisition
Free running display
FMP30 Deltascope
FMP40 Dualscope
FMP30 Isoscope
up to 100
Display of the most significant statistical values (number of measurements, mean value, standard deviation, min, max range) and specific values
Tolerance monitoring
Graphical evaluation
Single reading acquisition
Free running display
Area measurement
Multiple measurements
Matrix mode
IMO PSPC
SSP-PA2
QUALANOD
QUALACOT
Measurement method
Magnetic induction method (DIN EN ISO 2178, ASTM D7091)
Eddy current method and magnetic induction method (DIN EN ISO 2360 and 2178)
Eddy current method (DIN EN ISO 2360, ASTM D7091)
Instrument Types: Deltascope FMP10 & FMP30 For the measurement of ferrous base materials (F), e.g. paint, lacquer, powder coating, chrome, copper, zinc, as well as enamel or plastic coatings on steel and iron. Isoscope FMP10 & FMP30 For the measurement of paint, powder coating, lacquer or plastic coatings on non-ferromagnetic metal base materials (F) or anodic coatings on aluminum and electrically conducted coatings on non-conducting carrier materials. Dualscope FMP20 & FMP40 Due to automatic base material recognition and the integration fo both measurement methods, these universal instruments are capable of measuring coatings on steel and iron (F) and on non-ferromagnetic metals (NF). Duplex coatings (lacquer / zinc) on steel can be measured simultaneously with the values of the lacquer and zinc coatings displayed individually.
Features of FMP10 and FMP20:
Non-destructive coating thickness measurement according to the magnetic induction and / or eddy current methods.
Automatic probe recognition
Automatic substrate material recognition (FMP20)
Easy-to-use with intuitive menu
Large contrast-rich color display
Memory for up to 1,000 readings
USB interface for data transfer to the PC
Instant measurement upon probe placement
Audible signal with measurement acquisition
Easy adaptation to the shape of the specimen through a zero point correction (normalization)
Easy to perform corrective calibration (verification of accuracy)
Sliding cover to protect keys against unintentional operation
Units of measurement can be switched between µm and mils
Various language settings
Delivery with PC software Fischer DataCenter with the following functionality:
Transferring and archiving measurement data
Comprehensive statistical and graphical evaluations
Easy creation and printing of inspection reports.
Additional Features of the FMP30 and FMP40:
External key-triggered measurement acquisition, e.g. in hollow cylinders with small diameters
Audible and visual warning when tolerance limits are exceeded
Optional Bluetooth or COM additional available to the default USB interface
Measurement strategies and evaluation:
Single reading acquisition
Measurements taken in "free-running display" mode will continuously scan surfaces
Statistical display of significant values such as mean value, standard deviation, min, max, range
Stored specifications for measurements according to IMO PSPC, SSPC-PA2, QUALANOD and QUALACOAT (FMP30 & 40 only).
Capability to enable matrix measurement mode for correlated multi-point measurements (FMP30 & 40 only).
Averaging of measurement data: only the mean value of several readings will be stored (FMP30 & 40 only).
Measurement acquisition through area measurement: single readings are captured until probe lift-off and averaged (FMP30 & 40 only).
Outlier rejection settings for automatic elimination of erroneous measurements (FMP30 & 40 only).
Free-running display with additional presentation of the reading as an analog bar between the tolerance limits (FMP30 & 40 only).
Statistics display of the most significant values in the block and final results. Output of variance-analytical values (FMP30 & 40 only).
Graphical measurement display as a histogram (FMP30 & 40 only).
Capability of entering process tolerance limits and computation of the associated process capability indices Cp and Cpk (FMP30 & 40 only).
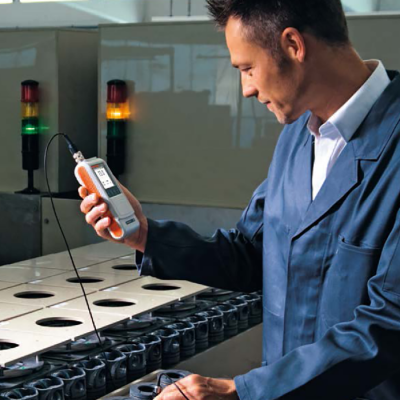
Typical Fields of Appplication:
Paint manufacturing and processing
Electroplating plants
Final inspection of goods
Anodizing plants
Standard Content of Instrument Shipment:
Instrument
Operator's Manual
Support CD with evaluation and archiving software DataCenter, USB Drivers and operator's manual
Carrying strap FMP
USB Interface cable FMP / PC
Battery set FMP (Alkaline)
Carrying case (only for FMP30 and FMP40 instruments)
Optional Accessories:
Carrying case FMP
Adapter E-probe / F-socket
AC Adapter FMP30 & FMP40
Rechargeable battery set FMP (NiMH)
Charger AA / Mignon
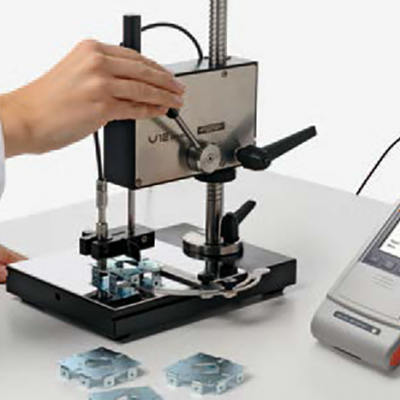
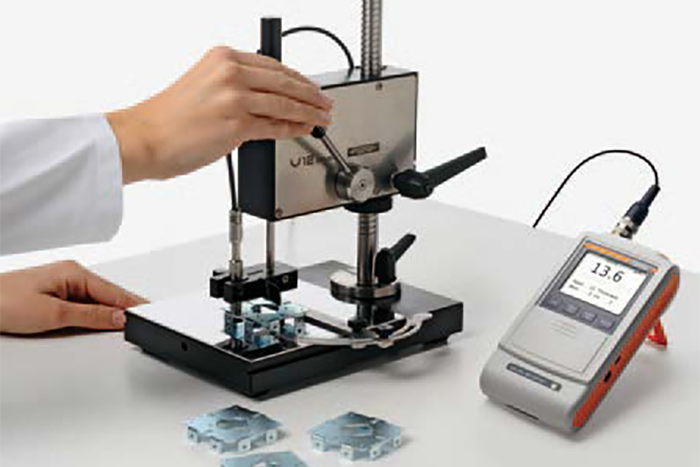
Measurement stand V12 BASE
Measurement stand V12 MOT (motor driven)
Bluetooth Module for wireless data transfer
COM Module FMP30 / FMP40, RS232 Interface
Interface connection set for COM Module
Protective cover for instrument
When ordering any of the FMP products, you need to be aware that you need to order a separate probe as well.
Click on the link to see the possible probes you can order - FMP Probes