Overview
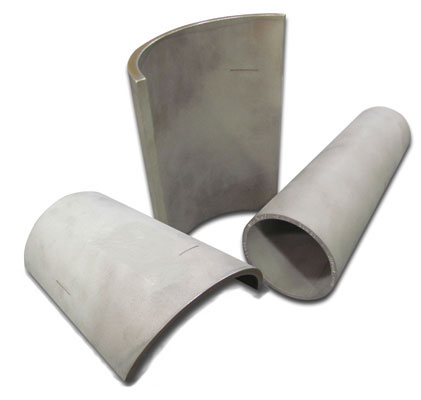
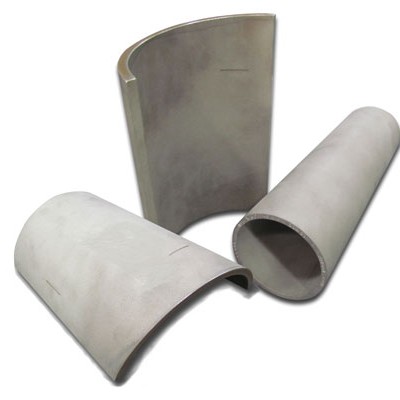
These pipe calibration blocks are specially designed to facilitate phased array UT (PAUT). The PH Tool block design includes various modifications to the original ASME design, including extra axial and arc length, a rearranged notch layout and a 10° angled cut on one end for blocks over 5" NPS. These modifications help to minimize unwanted "noise" from the backwall while performing DAC/TCG calibrations with phased array UT equipment.
A calibration block should be a section of pipe of the same nominal size, schedule, heat treatment and material specifications as the material being examined. PH Tool maintains a large inventory of raw material for the machining of these standards and they can be made from customer supplied material as well.
The Phased Array Pipe Calibration Block contains 4 EDM notches (axial and circumferential on both OD and ID) at a depth of 8-11% of nominal wall thickness x 1/4" maximum width (most notches are approximately 0.030" - 0.040" wide) x 1.000" minimum length. Blocks 5" NPS and smaller are left at 360°, while blocks over 5" are milled to a 180°/120°/90°/60° arc section (depending on nominal pipe size). All blocks are 12" in axial length minimum or 10T, whichever is greater. Made in accordance with ASME Section V Article 4 Figure T-43.3, with PH Tool modification for PAUT.


