
Applications
- Quality control of stainless steel
- Non-destructive material testing of structural parts
- Material selection for apparatus in the field of electron / ion physics and for nuclear resonance devices
- Detection of material changes in highly stressed parts
How It Works
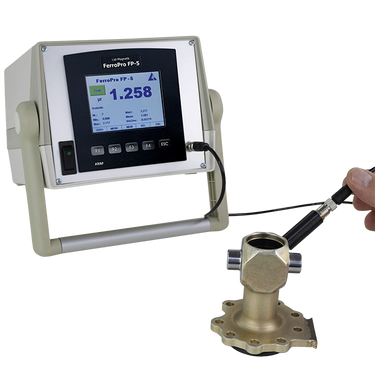
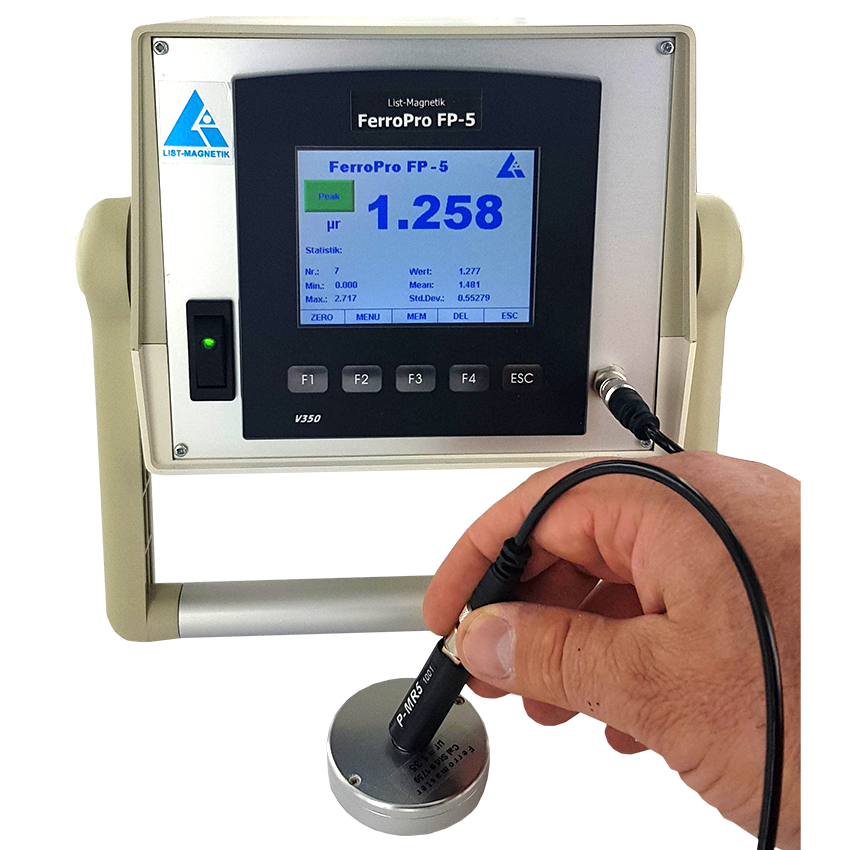
The probe contains a permanent magnet that magnetizes the sample near the probe tip. Two sensitive magnetic field sensors in differential circuit measure the field distortions caused by the magnetization of the sample, whereby the magnetic earth field is compensated by the arrangement of the probes. The device is calibrated to precisely calibrated reference standards of the Physikalisch-Technische Bundesanstalt PTB (German National Metrology Institute, Braunschweig). A recalibration is easily possible. A calibration standard is included with every device. The magnetic permeability of a material generally depends heavily on the strength and frequency of the magnetizing field. The probe head of the FerroPro FP-5 contains a permanent magnet that generates a constant magnetic field of around 35 kA/m (440 Gauss) at the probe tip.
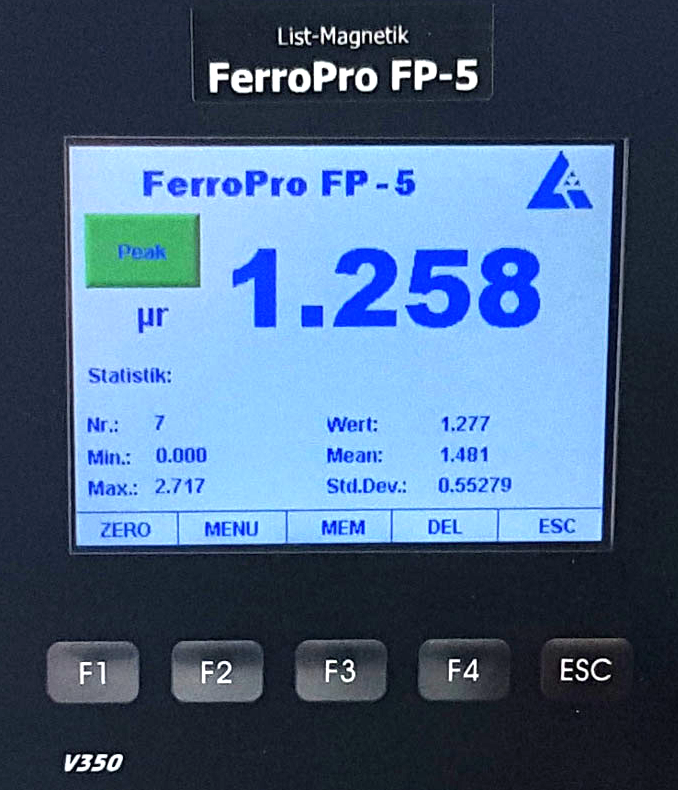
By choosing different correction factors for the excitation field strength in the probe, measurements according to ASTM A342 Test Method 1 can also be represented. The measured value of the permeability depends on the dimensions of small samples. The sensitivity of the device increases with the thickness of the sample. From a sample thickness of approximately 5 mm (0.2") and a lateral dimension of approximately 2 cm (0.8"), the measurement is independent of the size.
