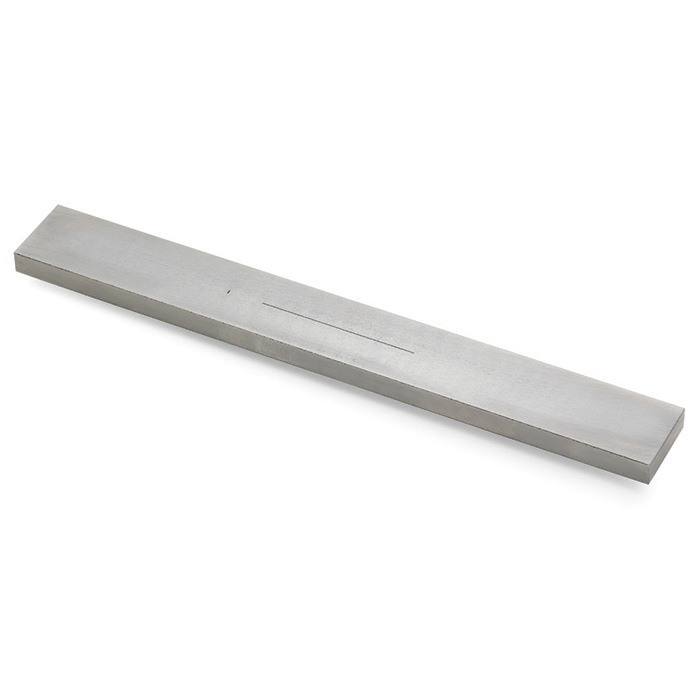
The Magnaflux Magnetic Particle Test Bar is used as a test piece with artificial flaws, to establish field direction and determine adequate current levels using AC or DC currents in wet horizontal magnetic particle bench units, power packs, or magnetic yokes. The bar contains both fine and coarse defects, surface and subsurface defects and longitudinal and transverse indications for use with AC, HWDC, and FWDC magnetizing currents. As required in some specifications, this bar may be used to determine that the MPI procedure has the ability to detect a 1/16" x 0.006" x 0.01" (LxWxD) notch (maximum dimension) oriented 90° to the magnetic flux. It is made of low alloy steel and is filled flush with a non-conducting material to prevent mechanical holding of the magnetic particles.

Position test bar in magnetizing equipment
Magnetize test bar according to the table on the right. Apply particles to form indications. AC fields will detect surface flaws. HWDC and FWDC fields will detect subsurface flaws. For yoke magnetization, position yoke legs on either end of the test bar. Magnetize and apply particles to form transverse indications.
| Waveform | Field Direction | Minimum Amperage | Indications |
| AC (Wet) | Circular Head Shot | 160 A | Lengthwise |
| Longitudinal Coil Shot | 450 A | Transverse | |
| HWDC / FWDC | Circular Head Shot | 400 A | Lengthwise |
| Longitudinal Coil Shot | 780-890 A | Transverse |
| Dimensions | 10.0" x 1.25" x 0.375" |
| Surface Flaws Top Side | Lengthwise LxWxD: 2.0" x 0.005" x 0.040" Transverse LxWxD: 0.063" x 0.005" x 0.020" |
| Surface Flaws Bottom Side | Lengthwise LxWxD: 0.062" x 0.005" x 0.020" Transverse LxWxD: 1.25" x 0.005" x 0.020" |
| Subsurface Flaws Transverse | 0.064" diameter x 0.75" deep holes 1. 0.051" from surface 2. 0.061" from surface 3. 0.071" from surface 4. 0.081" from surface 5. 0.091" from surface 6. 0.131" from surface |
| Subsurface Flaws Lengthwise | 0.064" diameter x 1.75" deep hole 0.093" from surface |
For use with systems conforming to: