Foerster TCM Universal Eddy Current Instrument

Foerster TCM Universal Eddy Current Instrument

One platform for all eddy current testing tasks

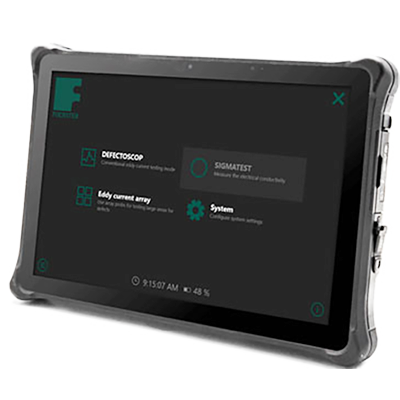
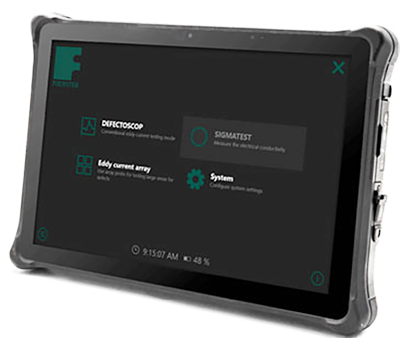
FOERSTER’s versatile new TCM 2.142 serves as a unifying platform for established eddy current testing products. Deep-penetrating low frequency (LF) testing with DEFECTOSCOP for measuring residual wall thickness and high frequency (HF) testing with DEFECTOMETER for detection of the smallest cracks, as well as, conductivity measurement of non-ferromagnetic materials with the SigmaTest. ECA (Eddy Current Array) eddy current testing via sensor arrays with up to 512 channels is available too. The intuitive touch interface allows the user to select the individual tasks via corresponding apps. Automatic probe recognition helps you set the optimal test and measurement parameters to achieve the best possible results.


Videos

Three Software Modules to Choose from

  • DEFECTOSCOP: universal eddy current testing with rotating, HF and LF probes.
  • SIGMATEST: measures electrical conductivity of non-ferromagnetic metals.
  • ECA (Eddy Current Array): eddy current testing via sensor arrays with up to 512 channels.


DEFECTOSCOP TCM

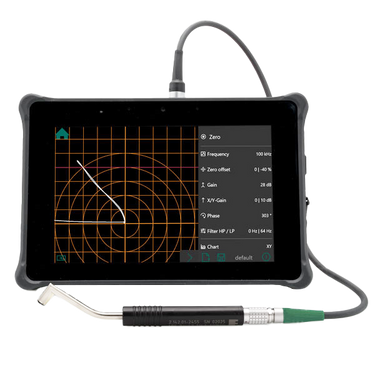
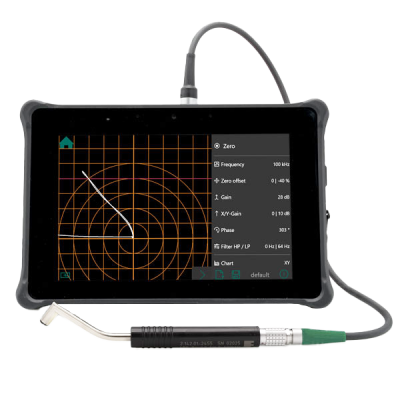
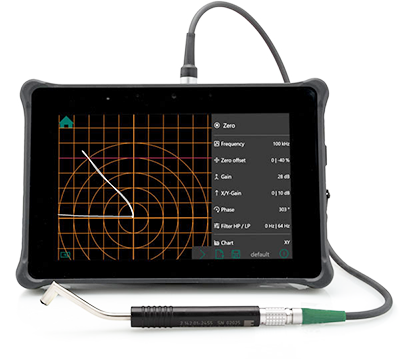
The DEFECTOSCOP module uses all typical parameters of a universal eddy current tester and displays the measurement data in the impedance plane. A user working in expert mode can easily customize the list of available parameters and store them in the test program. Additionally, favorites can be defined so the module starts up quickly the next time. Switching from expert mode back into operator mode locks the parameter list and system settings for editing, saving time and effort.

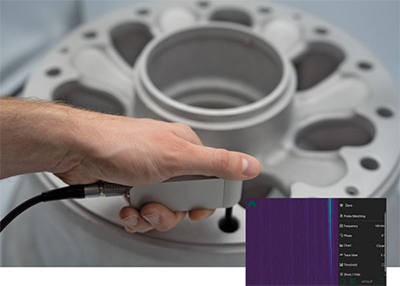
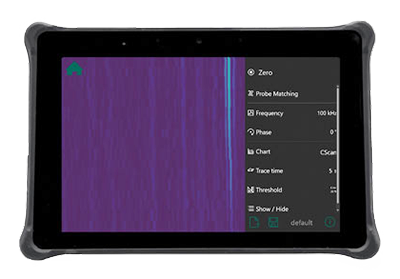
Optionally, multiple frequencies can be added to the test program so that parallel testing can be carried out at different eddy current penetration depths. The color representation of the frequencies can be adjusted as desired. Recordings of spinning components or hand-held rotating probes can be displayed directly in a high-resolution C-scan, allowing the test area to be easily evaluated and fully documented, or the raw data of the eddy current signal can be recorded and exported for later evaluation on the workstation computer.


Benefits & Features

  • Eddy current testing with rotating, HF, LF applications: Solves a wide variety of test tasks, either using your own sensors or sensors adapted by FOERSTER.
  • C-scan: Data from a hand-held rotating probe can be displayed in a high-resolution C-scan.
  • Multi-frequency inspection with up to 8 frequencies to check at different material depths for discontinuities in a single pass, or to reduce interference via frequency mixing.
  • Post-processing of ‘frozen’ eddy current data: Freeze an eddy current signal and then edit parameters such as gain, phase, high-pass and low-pass filters.
  • Flexible probe selection: Connect a wide variety of sensors, such as parametric, transformer or bridge probes.

SIGMATEST TCM

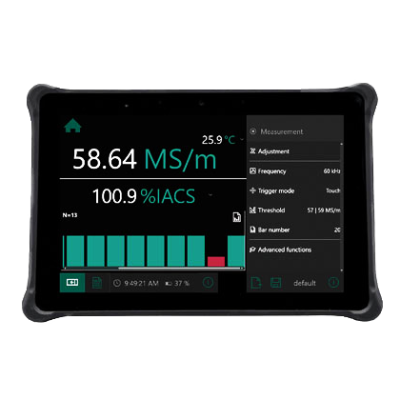
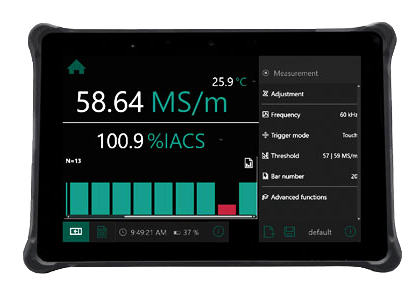
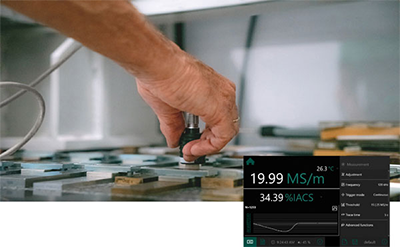
The SIGMATEST is useful for testing material compositions and sorting metals, alloys and scrap. Further applications include the detection of heat damage during aircraft maintenance, as well as process control in production in the metals industry. The SIGMATEST module is used with special conductivity probes that are calibrated to traceable conductivity standards (PTB/NIST or NPL) at 20°C in the FOERSTER calibration laboratory. The calibration data are stored on the sensor and retrieved by the TCM. This enables exact conductivity measurements. A single measurement is triggered by touch. If a scan of the surface is required, measured values can be output continuously and displayed in a time diagram.

Features & Benefits

  • Wide frequency range allows for measurement of different material thicknesses
  • Shielded probes help avoid edge effects
  • Reduced wear: specially designed probes with durable titanium protection ensure long service life
  • Easy handling: automatic recognition of the probes and loading of the correct calibration curves

ECA TCM

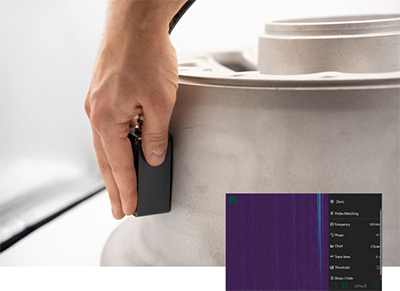
When the areas to be scanned are large, conventional eddy current inspection can be very time-consuming. Plus, there’s the risk that manual probe guidance will leave some areas uninspected. The ECA module makes it possible to run both large-area and shape-matched array probes. This permits large areas to be scanned both quickly and comprehensively. Array probes consist of several individual sensors arranged in a row inside a housing, for example. Connecting multiple sensors together in this way allows a larger area to be scanned at the resolution of each individual sensor.

Features & Benefits

  • Large-area testing with arrays of up to 512 probe elements in parallel
  • Easy handling: automatic detection of probes and setting of relevant hardware parameters
  • Localization of defects: spatially resolved eddy current data for positionally accurate defect detection
  • 100% documentation: eddy current images can be saved as PNG or PDF

Probes & Standards

The right probe for every application

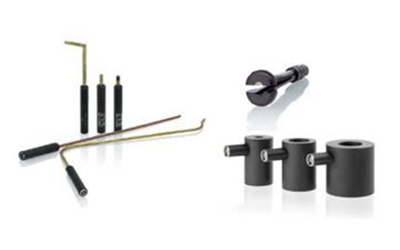
A wide variety of probe elements with corresponding properties are available for crack detection.  Probes can be built with other options, such as integrated guidance or wear protection made of e.g. titanium. Each probe element can also be constructed as an array probe with up to 512 integrated elements.

  • Absolute probe: not direction-dependent; high influence from the base material.
  • Differential probe: directional (blind to longitudinal defects); low material influence.
  • Bridge probe: directional (blind to 45° defects); low material influence


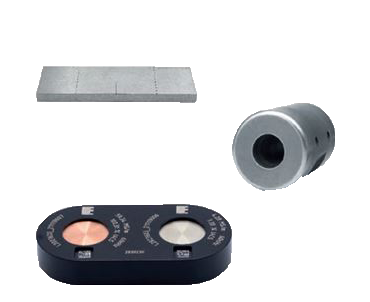
Crack and reference standards increase accuracy

For crack testing, the sensitivity of the testing system is adjusted using primarily flat crack standards made of the material under test. Since test sensitivity depends on the quality of the standard, the standards must comply with the highest dimensional tolerances. Alternatively, setting up test systems with rotating probes for crack testing requires standards, again, made of the material to be tested with representative holes. 

Appropriate conductivity standards are used to check and set up conductivity measurement with the SIGMATEST module. The better the quality of this reference standard, the better the final measurement result. FOERSTER offers conductivity standards traceable to an AC measurement of the NPL. 

Technical Specifications

TCM 2.142 General Specifications

TCM - General Specifications
Display:
  • 8" touchscreen, 1280 x 800 pixels, 800 nits, readable in sunlight
  • Switch between usage with finger or gloves
  • Choose different colors for signal view
  • Choose either grid or vector view
Protection: IP 66, 1.5m drop height
Dimensions: 234 x 157 x 51 mm
Weight: 1.3 kg
Temperature: -20° to 50°C operating range
Power: Battery time: 6 hrs.
Power Supply, mains: 100 - 240 VAC, 50/60 Hz, 65W
Power Supply, USB-C: 5 V, 2 A (connection to a standard power bank)
Battery: 7.6 V, 7,200 mAh
Camera: Back camera with 8.0 MP, front camera with 2.0 MP
Storage: 128 GB SSD
Connections Ports: 19-pin LEMO, Thunderbolt 4, USB 3.2 Gen2 (type C), microSD reader
Connectivity: Wi-Fi 6E, Bluetooth V5.2
Audio: Audio in/out (combo jack)
Documentation: Save/export raw data, screenshots, reports
Operating System: Windows 10 LTSC (Long Term Servicing Channel)
Embedded Help: Find information in every setup and dialog for fast and save usage
Languages: English, German, Spanish, Japanese, Chinese, Czech, Italian, French, further languages on request
TCM 2.142 Test Channel Specifications

TCM Test Channel
Frequency Range: 4 Hz – 20 MHz adjustable in 1 Hz steps
Multi-Frequency:
  • Up to 8 frequencies in parallel
  • Mix two frequencies for reducing disturbing signals
Filter: Low-pass filter and high-pass filter 1 Hz – 20,000 Hz
Gain: -20 dB to +120 dB in 0.1 dB steps
Phase: 0° – 360° in 0,1° steps
X and Y Gain: 0 – 60 dB in 0,1 dB steps
X/Y Offset: -50/50 in 5 % steps
Probe Recognition: Automatically adjusts pre-amplifier, max output current
Pre-Amplifier: -18, -12, -6, 0, 6, 12, 18, 24, 30, 36 dB
Max Output Current: 400 mA (peak), 10 V peak-peak
Data Resolution: 32 bit
Sample Rate: Up to 40,000 samples/ second
Trace Time: 0.1 – 60 seconds, Infinite, Rot-Sync
Charts: x/y, t, x/y + t, C-scan
Thresholds: Lines, circle, box, sector
Freeze Mode: Freeze your signal and adjust parameters like gain and phase
Documentation:
  • Customizable PDF reporting
  • Take screenshots as PNG
  • Record raw data and load them afterwards for further analysis
  • Automatic documentation of all eddy current parameters
Array Technology: Up to 512 probe elements
Supported Probes:
  • Rotating head and probes (5 – 24 V)
  • All separate transmit-receive probes (reflection) e.g. absolute, differential and parametric probes like DEFECTOMETER probes
  • Bridge probes (adjustable resistance 5, 25, 50, 100, 200 Ω)
  • Probes from other manufacturers are compatible with TCM
Conductivity Measurement Frequency: 60, 120, 240, 480 kHz
Conductivity Measurement Accuracy: +/- 1.0s% of measured value at 60 kHz, 14 mm probe
Conductivity Measurement Resolution: +/- 0.1% of measured value
Conductivity Measurement Range: 0.5 to 65 MS/m (1-112% IACS)
Wizards:

Auto-set wizard for:

  • absolute probe and lift-off setup
  • setting up filters for rotating probes
Fulfilled Standards:

DIN EN ISO 15548

TCM Instrument Standard Kit Includes

  • TCM Instrument
  • Case
  • Power Supply
  • Screen Protector Film
  • Handstrap
  • USB w/ User Manual

TCM Advanced Kit Includes

  • Everything in the Standard Instrument Kit
  • 1 Software Module Defectoscop
  • 1 Software Module Sigmatest
  • 1 Software Function Multi-Frequency Testing
  • 1 Probe Cable - 2m, 10P LEMO (Rotary/TCL Probe)
  • 1 Probe Cable - 2m, 10P LEMO (Sigmatest Probe)
  • 1 Probe PNCL SHLD ABS 90/30
  • 1 Weld Seam Probe
  • 1 Residual Wall Test Probe ABS BS=8
  • 1 Probe Sigmatest 14mm Titan
  • 1 Conductivity Standard 4MS/M, 58MS/M
  • 1 Holder - 4 Calibration Standards
  • 1 Calibration Standard NFE
  • 1 Calibration Standard FE
  • 1 Calibration Standard AUST
  • 1 Calibration Standard TI

To purchase the TCM, please contact us here:

Click Here to Request Pricing

Product Literature