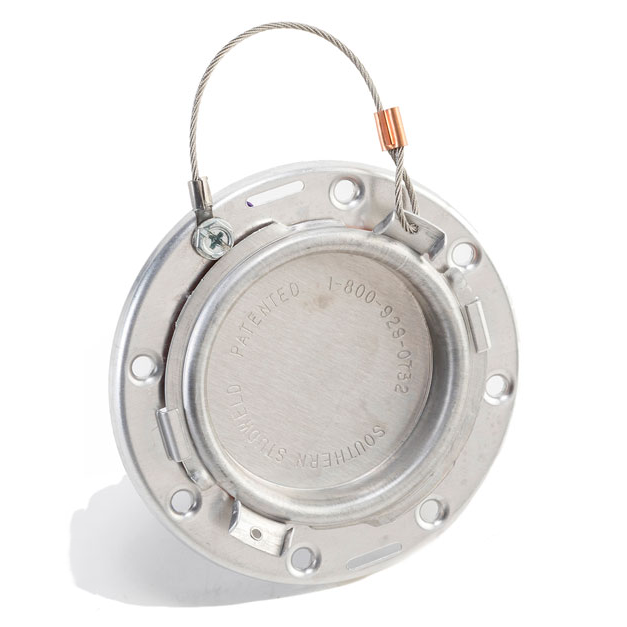
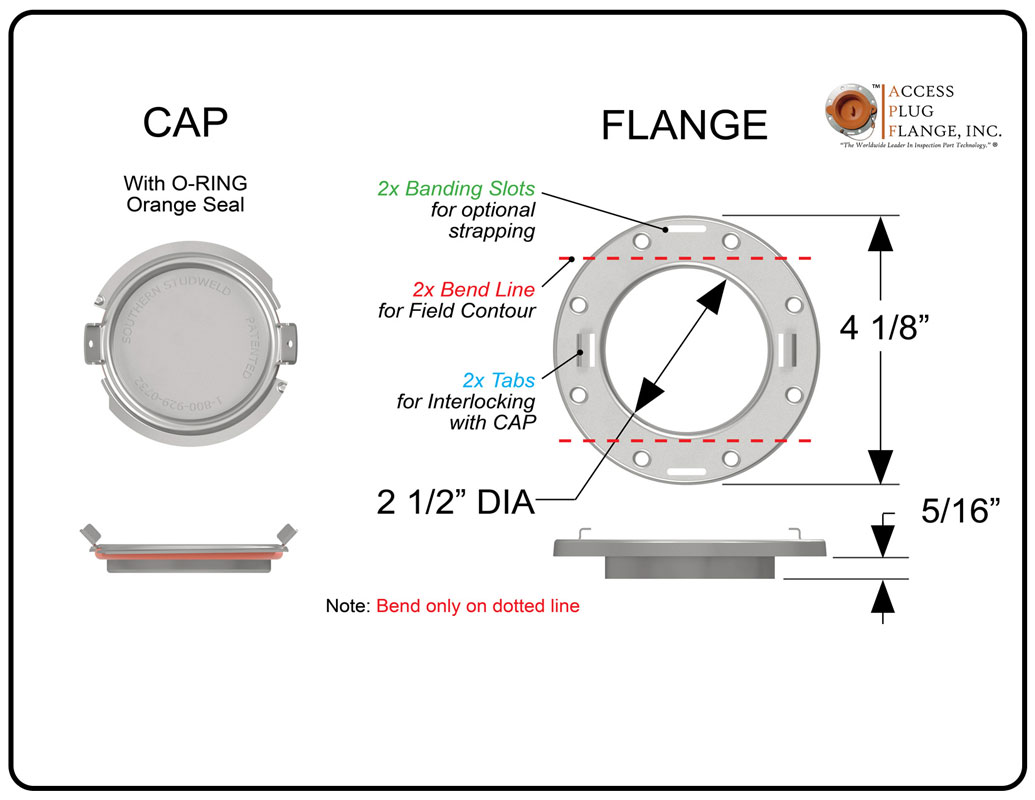
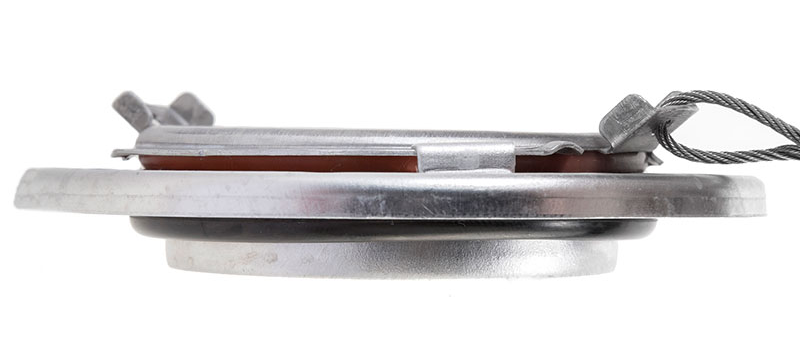
The AG1 inspection port was specifically designed for use when your insulation thickness is less than 1 inch by having a shorter center draw on the flange. Temperature range of 33 - 1,000 °F (1 - 537 °C). The AG1 inspection port combines the benefits of both the HT1 and HT2 and allows you to protect the integrity of the system when using this type of insulation material. Access Plug Flange inspection ports are designed with the largest sealing area in the industry to provide the most reliable and insulation efficient inspection port on the market today. Installation is quick and safe because they attach to the jacketing surface and not to the cut edge, providing a multitude of benefits. By using an inspection port within the listed operating temperatures, if the insulation material inserted after installation is lost or discarded, the integrity of the system is protected.
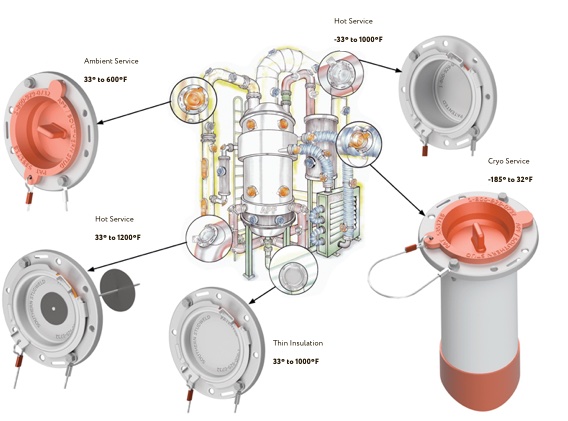

Access Plug Flange's product offerings are used in many different industries ranging from petrochemical and refining to food processing and pharmaceutical. Their extensive product offerings and large global installed base in these various industries demonstrate their customers' confidence in choosing Access Plug Flange products. Industries include:
Installation consists of six steps with exceptions to the optional field contour, extension sleeve, and transition gasket. Also, cryogenic inspection port follows a different installation procedure for the flange installation as shown below the standard installation procedures.
Steps
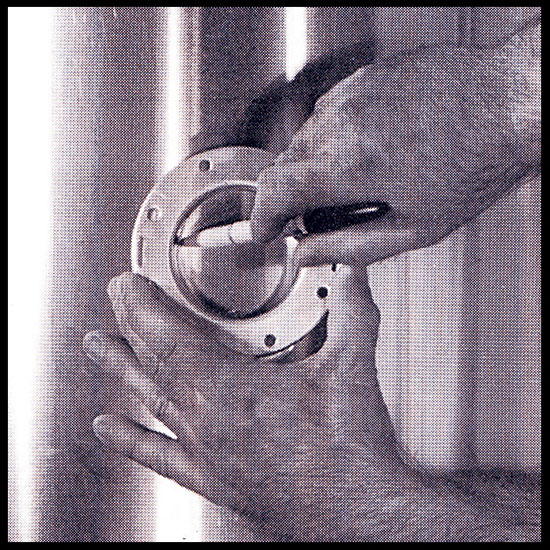
Step 1
Using the flange for sizing, locate and mark the ID of the flange on the jacketing surface at the test point location.
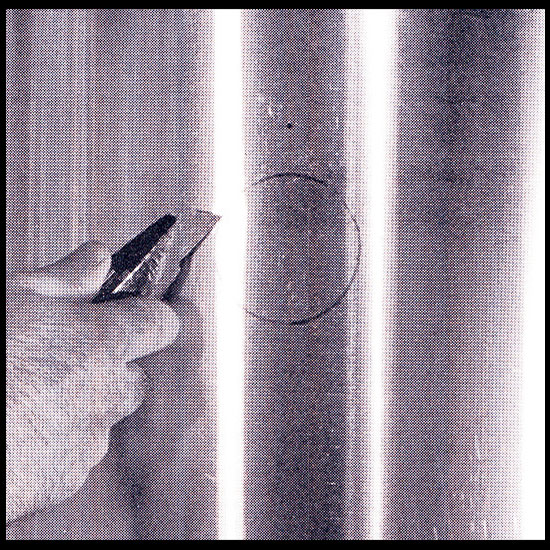
Step 2
Using a sharp utility knife or similar device, score the jacketing along the traced outline and pierce the jacketing with a small hole for the snips.
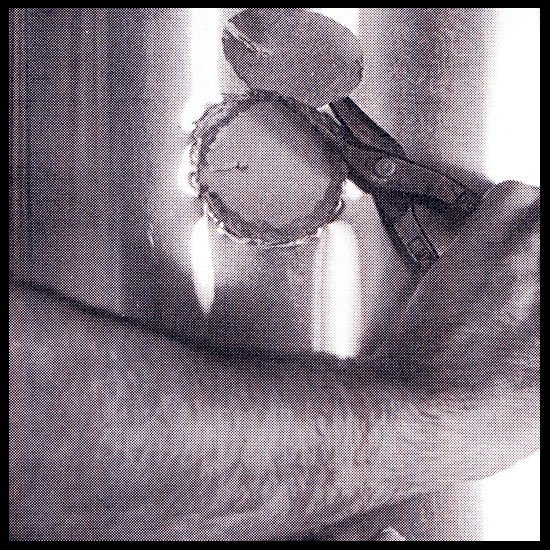
Step 3
Use a pair of snips to remove the jacketing. ** NOTE ** If you wish to use a hole saw to remove the jacketing, please refer to the chart below for sizing.
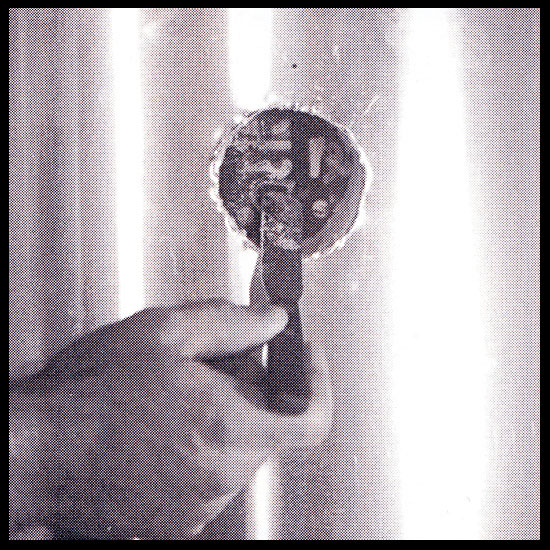
Step 4
Using the correct tool for your specific insulation material, remove the insulation as required to expose the pipe/vessel surface.
Step 4.1: Perform the following options prior to next step if applicable:
- Field Contour the flange for small diameter piping if needed
- Install the Separation Sleeve at this step if needed
- Install the Transition Gasket if needed
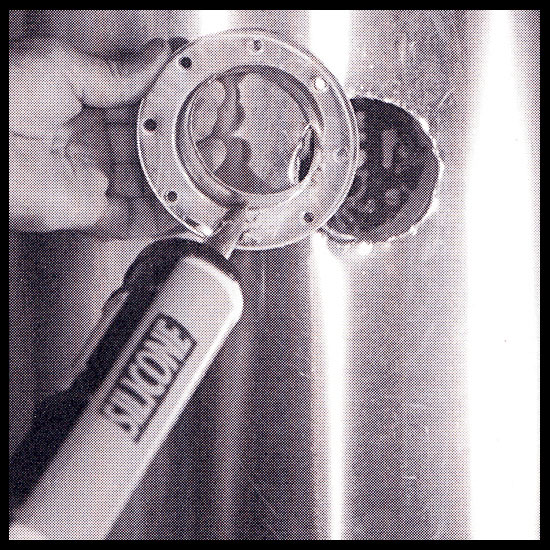
Step 5
Fill the backside of flange with a high grade silicone adhesive and insert the flange into the cut hole to shield the cut edge
Use the silicone injection holes along the face of the flange to fill any voids and to make sure you have an airtight seal between the flange and the jacketing
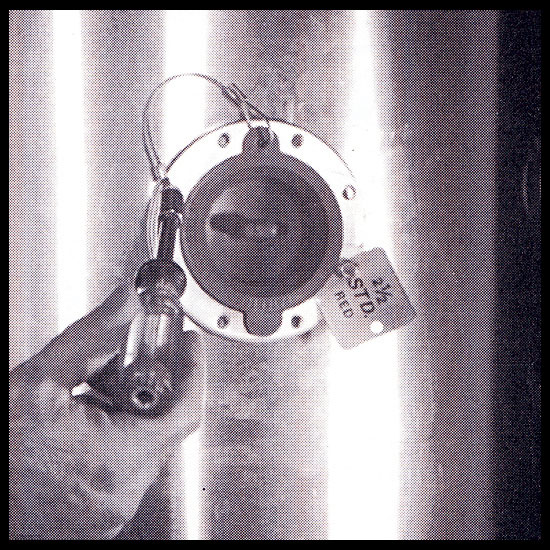
Step 6
Install two (2) #10 self-tapping stainless steel screws across from each other to hold the flange in place while the silicone cures. Make sure one of the screws is used to attach the safety line to the flange.
**NOTE: Installers may want to use aluminum or stainless steel pop rivets in lieu of self-tapping screws as an alternate fastening method. Insert an insulation core into the inspection hole and secure the stopper in the flange. If you are installing our high temperature, all metal, inspection ports; make sure the cup in fully engaged with the locking tabs to create the seal.
| APF ID (in) | Hole/Drill Dia. (in) |
| 1 3/4" | 1 9/16" |
| 2 1/2" | 2 9/16" |
| 4" | 4 1/8" |
| 5" | 5" |
Note: There is a $25 small order fee for orders under $100